Get ready to slay your mascara game like a pro!
Hey there, beautiful! Welcome to my Ultimate Guide to Mascara. If you’re looking for expert advice and uncommon tips on how to perfect your mascara application, then you’re in the right place. Mascara is one of the most important steps in any makeup routine, and you want to make sure you’re doing it right. I want to share with you my personal tips and tricks to make your mascara game slay-worthy. So, get ready to flutter those lashes, gorgeous, and let’s get started!
Preppin’ those peepers: Getting your eyes ready for mascara
Before you get started with applying mascara, it’s crucial to prep your eyes properly. This could make all the difference in achieving a flawless and stunning look! Trust me; I’ve seen drastic improvements in my makeup game ever since I started paying attention to my eye prep.
Ready, set, cleanse!
Cleansing your eyes before applying mascara is a must. No one wants to put makeup on top of dirt, oils, and whatever else might be lurking on the lashes. Taking a makeup remover wipe or micellar water to the eyes will do wonders in helping remove any excess oil and making a clean slate for luscious lashes. I mean, think of it as washing a dirty plate before eating off of it–you wouldn’t wanna eat spaghetti on a dirty dish, would you?
Prime-time’s showtime!
Before applying mascara, using a lash primer is handy. It’s like having a good solid base coat before painting your nails or walls. The primer helps the mascara stick better, lengthens, thickens, and conditions your lashes. Also, it prevents your mascara from flaking and smudging throughout the day.
I hope these tips help you in your quest to flutter those lashes. Stay tuned for the next section where I’ll take you step-by-step on how to apply mascara like a pro.
Getting It Right: The Ultimate Guide for Applying Mascara
Guys, let’s talk about the elephant in the room: mascara can be tricky to apply. There, I said it. But worry not, my fellow mascara enthusiasts, because I’m here to guide you through the process and help you ace your lash game. First things first, let’s set the foundation for a flawless application. One of the most critical – yet often overlooked- steps is prepping your eyes. That’s right, ladies and gents, you want to start with a clean slate. Make sure to remove any traces of makeup, oils or dirt. I always use a gentle cleanser to avoid any irritation. Once your lashes are squeaky clean, apply a primer to help your mascara adhere better. Now, onto the main event, applying mascara. My personal preference is to start by curling my lashes with an eyelash curler. This step opens up my eyes and gives my lashes a more defined shape. Then, I apply a base coat of mascara, making sure to cover the entire lash from root to tip. For best results, apply a second coat while the first one is still wet. Don’t forget to use a wiggling motion as you apply the mascara to separate and lengthen your lashes. Pro tip: To make your lashes stand out even more, add additional coats, but make sure to do it before the mascara dries.Now, we’re almost ready to slay the day, but not quite yet. We want to make sure every lash is on point, so we’ll do some finishing touches. Start by combing through your lashes with a clean spoolie wand to separate and remove any clumps. If you notice any clumps, use a clean tissue or a cotton swab to remove them gently. And there you have it, folks! The ultimate guide to nailing your mascara application. Remember, practice makes perfect, and it’s okay to experiment and find what works best for you. If you want to learn more mascara application tips and tricks, head over to BestEyelashExtensionSupplies.com to explore their extensive collection of guides and products. Happy mascara-ing!
My Mascara Guide: The Final Touches
Alright, we’re almost there! You’ve prepped your eyes, applied your mascara, and now it’s time for the finishing touches. These final steps will take your lashes from good to great.
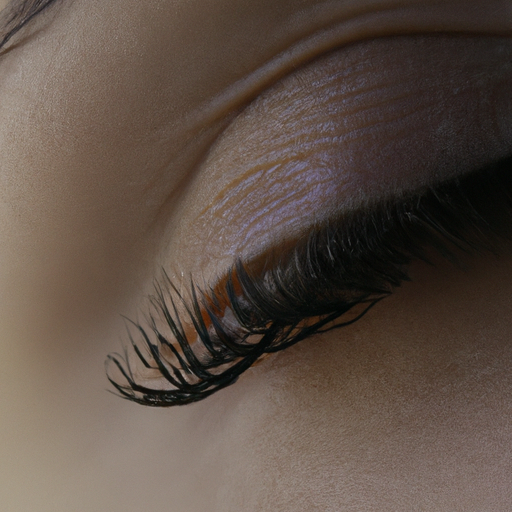
First things first, let’s comb through those lashes. Use a lash comb or spoolie to separate any clumps and make sure each lash is coated evenly. This will also help to define and lengthen your lashes.
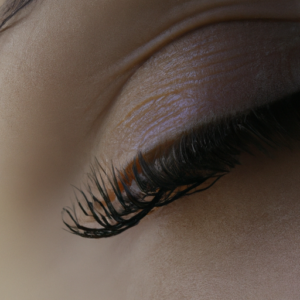
If you do happen to have any clumps, don’t worry. You can easily remove them with a clean spoolie or even a clean toothbrush. Simply wiggle the spoolie or brush through the clump until it separates.
Another trick to avoid clumps is to let each coat of mascara dry for a few seconds before applying the next. This will give each coat time to set and prevent clumping.
Finally, if you really want to take your lashes to the next level, try layering different types of mascara. For example, start with a lengthening mascara and then follow up with a volumizing mascara for extra drama. Just make sure to let each coat dry before adding the next.
With these final touches, your mascara look is complete! Remember to embrace your own unique style and have fun experimenting with different mascara techniques.
Wrap Up: My Ultimate Guide to Flawless Mascara
Wow! That was a lot of information on how to make your eyelashes look amazing with some mascara. Honestly, I’ve learned so much throughout the process of writing this ultimate guide, and I hope you have too. After prepping our eyes properly, we tackled the crucial process of applying our mascara. Making sure to layer and wiggle the brush for maximum effect, and then finishing by combing through our lashes and removing any pesky clumps that refused to go away. But don’t forget, each step in the process is important and helps the overall look. Properly cleaning and curling your lashes, as well as applying a base coat, all contribute to a flawless finish. Remember, the journey to achieving the perfect mascara look is different for everyone, and it may take some practice to get it just right. But don’t give up! With these tips, tricks, and expert advice, you’ll be a mascara pro in no time. So, here’s to fabulous lashes and conquering the mascara game. Happy lashing!