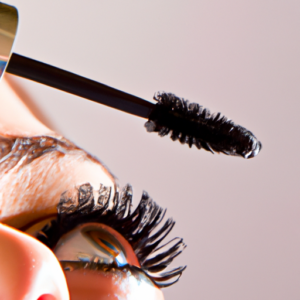
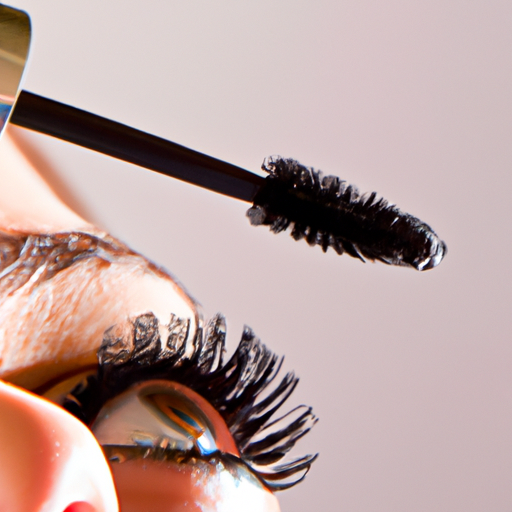
Hey, Gorgeous! Let’s Talk Mascara
Are you tired of looking like a raccoon or feeling like your mascara is weighing your lashes down? Well, look no further because I’ve got some down-to-earth tips and tricks for you.
Applying mascara can be a bit tricky, but with some expert advice, we can make your lashes look longer, fuller, and perfectly defined.
So, sit back, grab your mascara, and let’s get started on our journey to great-looking lashes.
Preparing the Lashes: Getting Them Mascara-Ready
Okay, ladies and gents! Before we get into the nitty-gritty of applying the perfect coat of mascara, let’s talk about how to get those lashes ready for their close-up.
Curling Lashes
First and foremost, I always make sure to curl my lashes. It’s a quick and easy step that makes a world of difference! I use an eyelash curler like this one from besteyelashextensionsupplies.com.

Once my lashes are curled, I like to apply a primer. This step is optional, but I find it really helps the mascara stick and last longer. I’m currently using this one from L’Oréal.
Now that our lashes are prepped and ready to go, it’s time to move on to the main event – applying that mascara!
Applying the Mascara: Let’s Get Those Lashes Poppin’!
Time to dive into the nitty-gritty of mascara application! First things first – make sure you’ve got the right wand for your lashes. A curved wand works for most people, but if you’ve got shorter lashes, opt for a smaller, more tapered brush.
Now, let’s tackle the upper lashes. Starting at the base, wiggle the wand back and forth while moving upwards. This’ll help separate and coat each lash individually. Don’t forget to apply mascara to the tips as well! Now onto the lower lashes. Use a lighter hand here – applying too much mascara can result in clumps and smudging.
If you do find yourself dealing with clumps, don’t fret! Comb through your lashes with a clean spoolie (a disposable mascara wand works too). This’ll evenly distribute the mascara and separate the lashes. Want to add a little something extra? Choose a colored mascara to make your eyes really stand out.
Remember, practice makes perfect – don’t be afraid to experiment to find the perfect application technique for you. And that’s it – you’re ready to rock those fluttery lashes wherever you go!
Finishing Touches: Making Your Lashes Pop
Alright, now that we’ve applied our mascara and our lashes are looking pretty fabulous, it’s time to put the finishing touches on. First thing’s first – let’s make sure those lashes are perfectly separated and clump-free. Grab a spoolie and gently comb through your lashes from root to tip. This will help to remove any excess product and create a more natural, fluttery look.
Next, let’s talk about adding a touch of color. While black mascara is a classic choice, there’s no harm in shaking things up a bit. If you’ve got fair skin and light hair, consider opting for a brown mascara for a softer, more natural look. On the other hand, if you’re feeling bold, why not try a colored mascara? Blue, green, and purple mascaras can add a fun, playful pop of color to your look.
Another great trick for finishing your lashes is to apply a coat of mascara to just the tips of your lashes. This will give the illusion of longer, more dramatic lashes without the risk of clumps or spider legs. To do this, hold the wand horizontally and gently swipe the tips of your lashes.
And lastly, here’s a pro-tip for all of you dealing with straight lashes – try heating up your eyelash curler with a hair dryer before using it. This will help to create a more dramatic curl that will last longer throughout the day.
So there you have it – a few simple tricks for putting the finishing touches on your mascara look. Remember, the key is to experiment and have fun with it!
An Epic Mascara Guide: Conclusions That Will Blow Your Mind
Woohoo! You have just made it to the end of this epic mascara guide! I hope you found it helpful and interesting. In case you missed it, we’ve talked about some important tips and tricks for achieving a perfect lash look. We started with preparing the lashes by curling them and applying a primer, then we moved on to applying the mascara itself. We also discussed the importance of choosing the right mascara wand and how to apply mascara evenly to both the upper and lower lashes.
Now that you have mastered the basics, let’s talk about some finishing touches that can give your lashes the final “wow” factor. First, use a spoolie to comb them out and give them a more natural look. You can also add a little bit of color by applying a tiny amount of eyeshadow to the tips of your lashes. It’s a subtle touch, but it can make a real difference.
Overall, the key to perfecting your mascara application is to practice, experiment, and have fun with it! It may take some time and patience, but with the right techniques and products, you’ll be able to achieve the lash look of your dreams. Remember to always remove your mascara at the end of the day to prevent clumps and bacteria buildup, and don’t forget to replace your mascara every 3-6 months. Keep these tips in mind, and you’ll be a mascara pro in no time!
