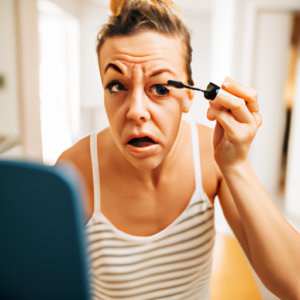
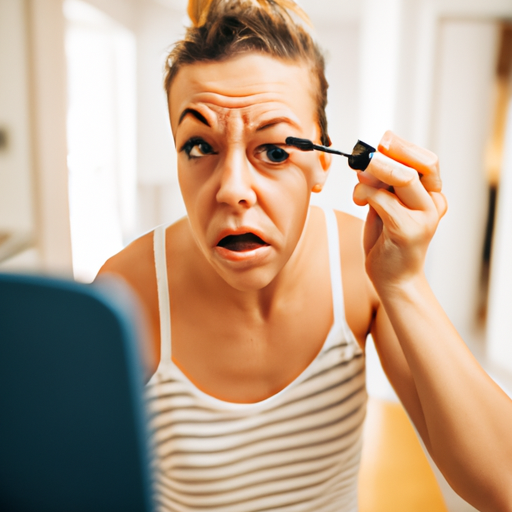
Ready, Set, Mascara – Let’s Get Those Lashes Poppin’!
What’s up, my beauties! I’m excited to share with you my mascara tips and tricks, so get ready to ditch those clumpy, smudgy lashes for good.
Before we dive in, let me introduce myself. I’m a makeup artist with over 10 years of experience in the beauty industry. I’ve seen it all, from the craziest makeup trends to the most beautiful makeup transformations.
In this post, I’m going to walk you through the process of achieving flawless mascara application. I’ll be sharing what you need, preparation tips, step-by-step application instructions, and finishing touches to ensure your mascara looks perfect.
Get Ready to Glam Up: Here’s What You’ll Need for Perfect Mascara Application
Hey there! Are you ready to take your lash game to the next level? Well, you’re in the right place! Here’s a handy list of what you’ll need before getting started:
- Mascara (obviously!)
- Eyelash curler
- Clean spoolie (or an old mascara wand you’ve cleaned off)
- Cotton swabs and makeup remover (in case of accidents)
Having these items on hand will help make your mascara application go smoothly and give you the best results!
Get Ready for Lashes: Tips for Mascara Preparation
Before you start applying mascara, it’s important to get your lashes ready. Believe me, getting your lashes ready will make a huge difference in the outcome of your mascara application. Here are some tips to help you prepare your lashes:

Do you have any idea how many oils and dirt can accumulate on your lashes during the day? Gross, right? That’s why you need to cleanse your lashes before you apply mascara. You don’t want the oils and dirt to interfere with the mascara application, or worse, cause infections. Use a mild cleanser or micellar water to cleanse your lashes, and make sure to dry them properly before you proceed.
Use an Eyelash Curler
Using an eyelash curler before applying mascara can help to give your lashes a lift, making them appear longer and fuller. But be careful not to use a heated eyelash curler as they can damage your lashes. Use a manual eyelash curler instead, and hold it for 10 seconds on each eye.
Brush Your Lashes
Brushing your lashes is an essential step to prepare them for mascara. Use a lash comb or a clean mascara wand to comb through your lashes, separating any clumps or tangles. This process will also help to lift your lashes and give them a more natural look.
Apply a Primer
Applying a primer is optional, but it can make a big difference in the way your mascara looks. A primer can help to condition your lashes and create a smooth surface for mascara application. Apply it in a zigzag motion, from the base of the lashes to the tip. Let it dry for a few seconds before applying your mascara.
With these tips, your lashes are now ready for the mascara application. Go ahead and give it a try!
4. Applying Mascara: Get Ready to Bat your Eyelashes!
So, you’ve got your mascara and your wands ready, but how do you actually apply it? Here’s my step-by-step guide to getting that perfect lash look.
First, start with clean lashes. If you have leftover makeup or dirt, your mascara can clump and not work as well. I like to use a gentle eye makeup remover and cotton pad to make sure my lashes are clean.
Next, curl your lashes. I find this step really helps open up my eyes and make my lashes look longer. Be gentle and only curl them at the base, not all the way to the tips. Hold the curler for a few seconds, then release.
Now for the mascara. I like to start with the wand at the base of my lashes and wiggle it up and out. This helps coat all my lashes and prevent clumping. I do a few coats on the top and then go back in with the wand horizontally to get my bottom lashes.
Don’t forget about the corners! I find it helpful to use the very tip of the wand to get the inner and outer lashes. This also helps prevent smudging or getting mascara on my skin.
After your mascara is applied, give your lashes a few seconds to dry. Then, use a clean wand or spoolie to comb through your lashes and separate any clumps. This step makes a huge difference in giving your lashes a natural look.
And that’s it! With a little practice, you’ll be able to apply mascara with ease and boost your lash game.
Get That Perfect Mascara Look with These Finishing Touches, Girl!
Now that you’ve applied your mascara, it’s time to add some finishing touches to make sure your lashes are on point! Here are my top tips:
1. Comb Through Your Lashes
Using a clean lash comb, run through your lashes to separate them and eliminate clumps. This will make your lashes look fuller and more natural.
2. Add More Volume (If Needed)
If you want even more volume, add a second coat of mascara after allowing the first one to dry. Be careful not to overdo it, though – too much mascara can make your lashes look spidery, and nobody wants that!
3. Clean Up Any Mistakes
If you accidentally got mascara on your eyelid or underneath your eye, don’t panic! Dip a cotton swab in some makeup remover and gently clean up the mistake. Just be careful not to smudge your mascara in the process!
4. Set Your Look (Optional)
If you find that your mascara is smudging or flaking off throughout the day, consider setting it with a clear mascara or topcoat. This will help keep your lashes looking fresh and defined all day long.
With these finishing touches, your mascara look is complete. Now you’re ready to flutter those lashes and take on the world!
Wrap It Up: My Expert Tips on Mascara Application
Well, there you have it folks! These are my tried and true tips on applying mascara for a flawless finish.
First and foremost, make sure you have all the necessary items listed in section 2 before starting. You don’t want to be caught without a lash curler or have the wrong color mascara.
In section 3, I stressed the importance of preparing your lashes properly for mascara application. Try using a lash primer or combing through your lashes with a spoolie before starting.
When it’s finally time to apply the mascara in section 4, remember to start at the base of your lashes and wiggle the wand up to the tips. Don’t forget to apply mascara to your lower lashes as well for a full look.
Adding those finishing touches in section 5, such as separating lashes with a lash comb or cleaning up any smudges with a Q-tip, can make all the difference in your finished look.
Overall, with a little bit of practice and these tips, you’ll be a mascara pro in no time. Happy Applying!
Applying Mascara FAQ
How do you make mascara look flawless?
Well, first things first – I always curl my lashes before applying mascara. It really helps to open up my eyes and make them look more awake. Once that’s done, I start by wiggling the mascara wand at the base of my lashes and pulling it towards the tips. I like to do a couple of coats, but make sure to let each coat dry a little bit in between so it doesn’t clump. Another tip I’ve been given is to use a lash comb or spoolie brush to separate any clumps and create that feathery, fluttery look. Honestly, this has been a game-changer for me. I used to avoid wearing mascara because I could never get it to look right, but now I feel like a pro. Finally, I think the key to making mascara look flawless is to not overdo it. You don’t want to end up with spider lashes that look spiky and clumpy. Instead, aim for a more natural-looking length and volume. And if you do make a mistake, don’t worry – just use a clean spoolie or cotton swab to fix it up. Mascara can be tricky, but with a little practice and some good advice, you’ll be a pro in no time!
Do you put mascara on top or bottom first?
Oh boy, putting on mascara can be tricky! But fear not, I’ve got some tips on how to apply it perfectly. First things first, I always curl my lashes before applying mascara. This makes a huge difference! As for the actual application, I start with the bottom lashes and wiggle the wand from the base of the lashes to the tips. Then, I move onto the top lashes and repeat the same process. Now, here comes a weird trick that I swear by. I take a clean spoolie brush and comb through my lashes to get rid of any clumps and to separate them evenly. This makes the mascara look more natural and less heavy. Another pro tip is to use two different mascaras, one for volume and one for length. I like to use a volumizing mascara first and then apply a lengthening mascara on top for the perfect fluttery effect. Oh, and don’t forget to let the mascara dry between coats. This can prevent smudging and clumping. And if you accidentally get some mascara on your skin, wait until it dries and then gently remove it with a cotton swab. And voila, you now have perfectly applied mascara!
Are you supposed to layer mascara?
Ok, here’s the deal: I’m not an expert on makeup, but I’ll try my best to help you out. When it comes to putting on mascara, the first thing I like to do is curl my eyelashes with an eyelash curler. Then, I apply a primer to my lashes to help them stay healthy and prevent clumping. Now, let’s talk about layering mascara. Some people like to layer mascara for a more dramatic look, but you have to be careful not to overdo it. If you apply too many layers, your lashes will start to clump together and look unnatural. So, my advice would be to start with a thin coat of mascara and build up from there. Don’t forget to use a lash comb or clean mascara wand to separate your lashes between coats.Another tip is to wiggle the wand back and forth as you apply the mascara to get an even coating and avoid clumping. And speaking of wands, make sure you choose the right one for your lashes. If you have short or sparse lashes, go for a wand with smaller bristles. If you have long or thick lashes, a larger wand with more bristles will work better.When you’re done applying the mascara, let it dry completely before blinking or applying any other makeup. And if you do end up with any clumps, don’t panic! Just use a clean mascara wand or a cotton swab to remove them.In conclusion, putting on mascara perfectly takes a bit of practice and patience. But with these tips and tricks, you’ll be a pro in no time! Happy mascara-ing!
